Sourdough Bread

One of the things I have attempted during lockdown is making sourdough bread. I don’t actually like sourdough—it tastes too sour!—but Husband likes it, and I rather liked the idea of making it. It’s completely different to making ‘normal’ bread, and has no yeast. Instead, you have a sort of mini chemical plant bubbling away in your kitchen, which you feed each day, and when it has grown to the appropriate size, you use it to make bread.
It reminded me of when I was a child, and we made ginger beer, having a ‘plant’ of sludge bubbling away in a jam jar, feeding it sugar and ginger every day, and then on a Saturday, filling the sink with bottles we had begged from relatives, filling them with boiling water to sterilize them, and then filling them with ginger beer; which we stored under the kitchen table for a couple of weeks, before drinking copious amounts of wonderful fizzy ginger beer. Any fizzy drink in those days was wonderful, as my parents only ever bought them at Christmas, due to cost. I’m not sure how the cost of the sugar we added when making the beer compared, but to my childhood self, ingredients didn’t count as a ‘cost’ and the beer was therefore ‘free.’
There was the week when our boiling-water-method of ‘sterilization’ obviously didn’t work (I learnt a lot about what ‘hot’ and ‘hurts’ meant in those days) and one of the bottles exploded, all over the kitchen floor. My mother was very good about things like that, she never minded us taking over her kitchen to cook, and she was never angry when we spilt things or bottles of fizzy drink exploded everywhere. It is one of the things I tried to copy when I was a mother.
Anyway, all this fuelled my desire to try and make some sour dough. I was not disappointed.
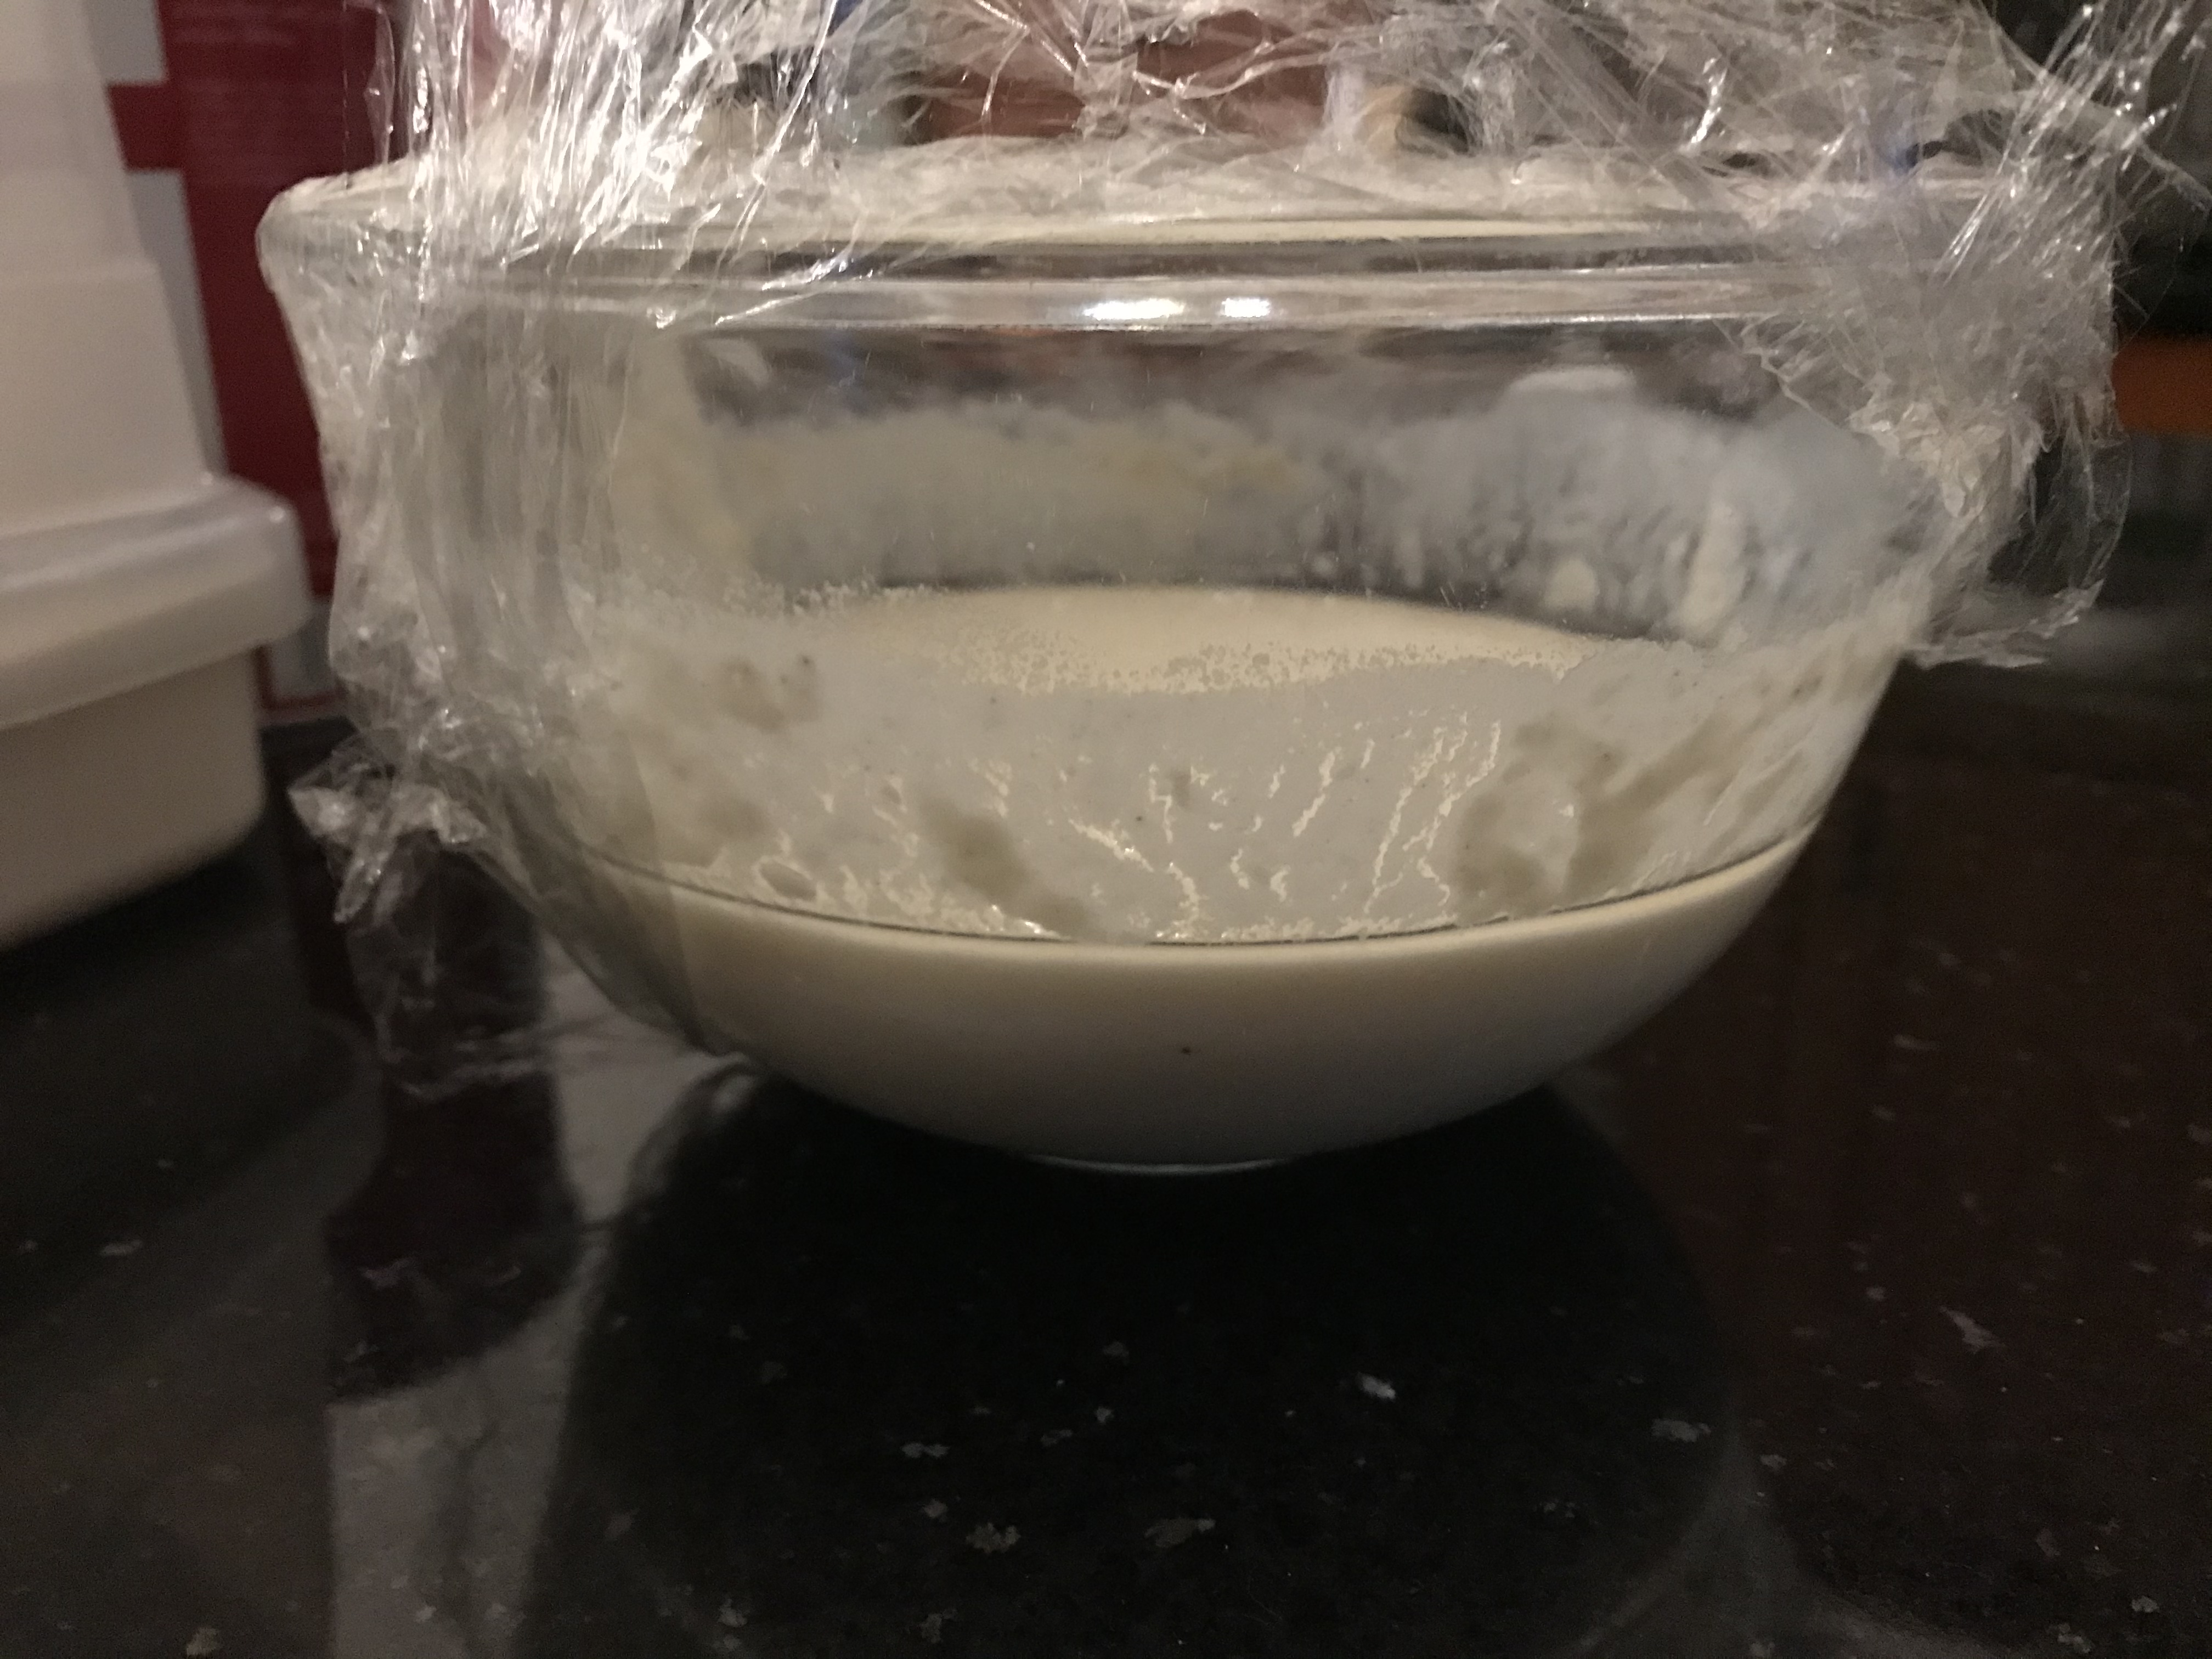 I found a recipe online, and made my ‘starter’. This was a goo of milk, yogurt and flour. Apparently, in days gone by, people made the starter simply by leaving flour (probably whole grain) to soak, until it started to ferment, and this became the base for the starter. But it’s quicker with yogurt, and less likely to go rancid. Each day, I added flour and water. The first couple of days, it expanded slightly, and bubbles appeared on the surface. But then it went flat, and looked dead. I think my house was too cold, and the bacteria couldn’t be bothered to do anything. I moved it to a warmer place, and it started to bubble again. I made it in a small Pyrex bowl, covered with clingfilm and a tea towel (to keep it insulated, as it needs to be warm, but not too warm).
Some days it looked as if the water and flour had separated, and there was water on the surface. This is actually alcohol (with a fancy name). I just stirred it back into the sludge. It looked gloopy, a bit like baby vomit, but it smelt wonderfully beery. If it starts to smell nasty (of poop) then it’s gone off, and you must throw it away and start again.
After six days, I was ready to make the bread. There was a lot of goo and sticky involved, and a good muscle workout in the kneading bit. It also took hours, as a sour dough starter is not as fast as yeast, so it needed two lots of 2 ½ hour rest periods to rise. The dough was never firm enough to support itself, so needed to be left to rise in a bowl. The instructions said to line this with a floured tea towel otherwise it would stick to the bowl. I did, and it stuck to the tea towel. When it was cooked, I was supposed to place tins of water in the oven, to produce a steamy atmosphere, but I forgot.
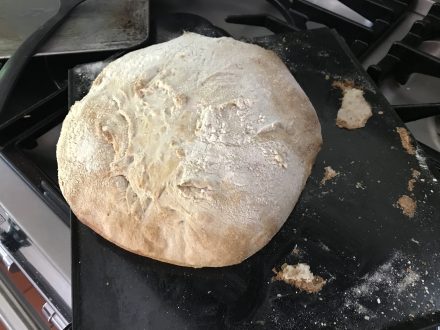
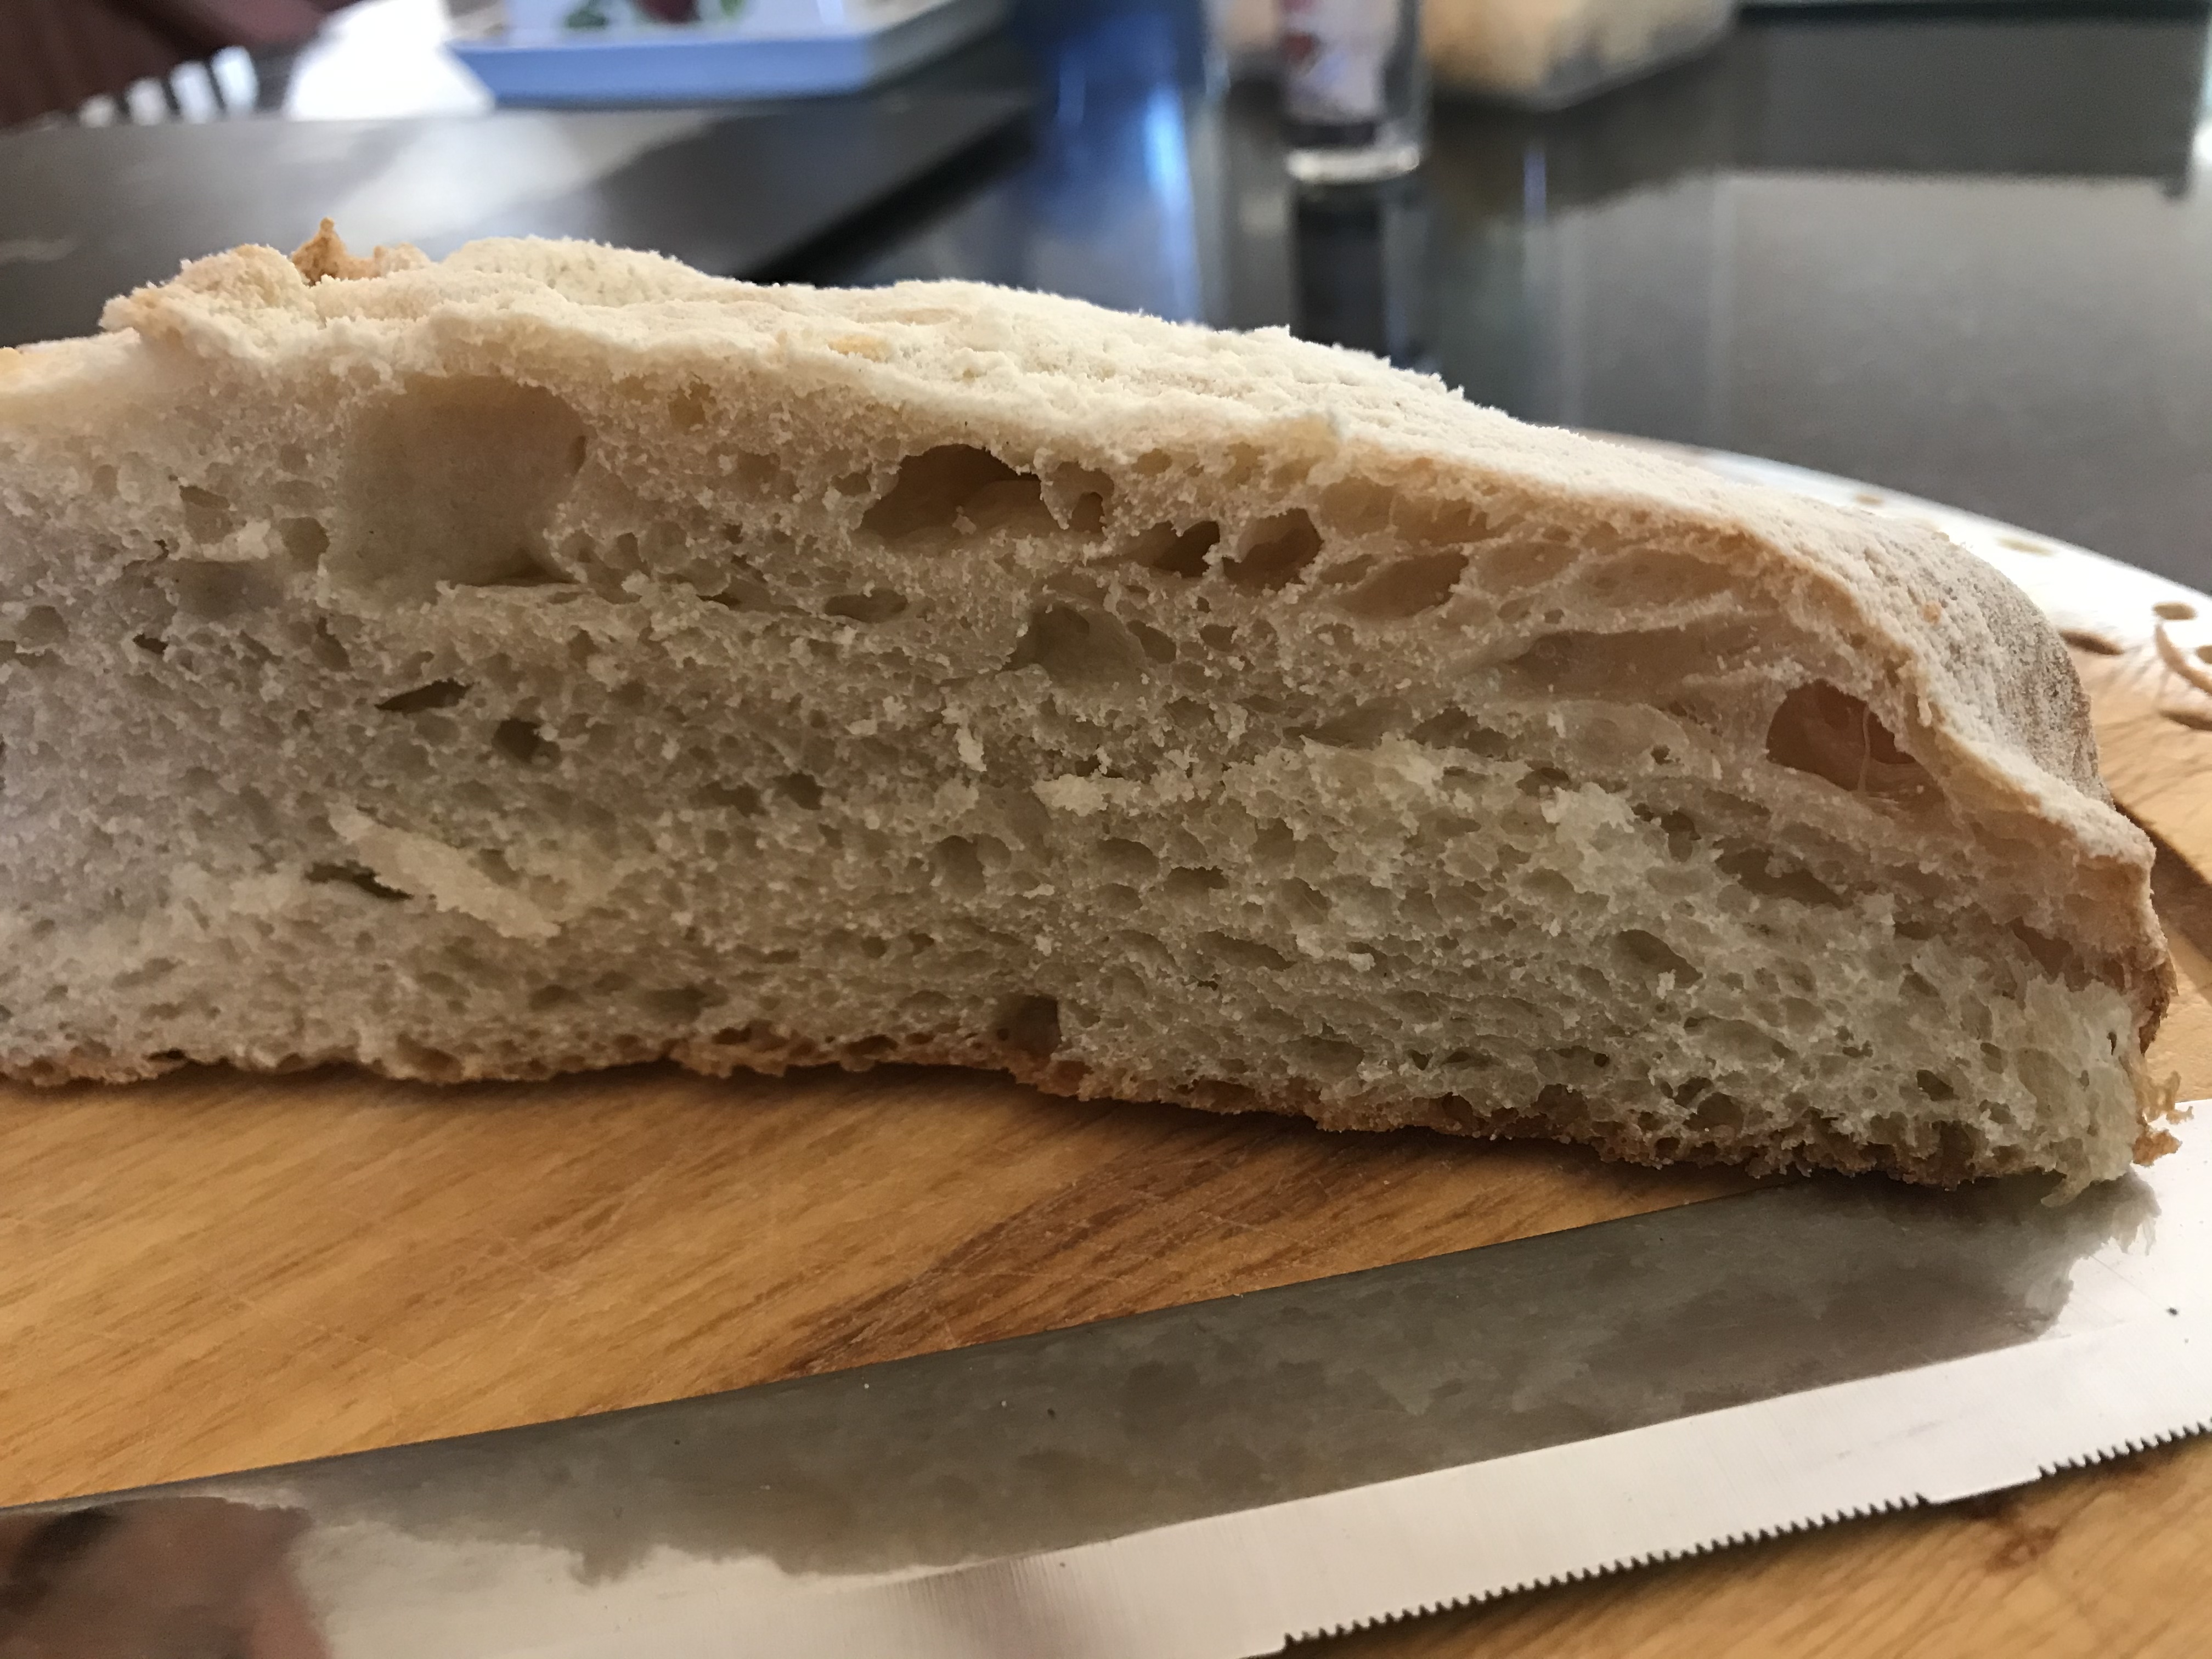
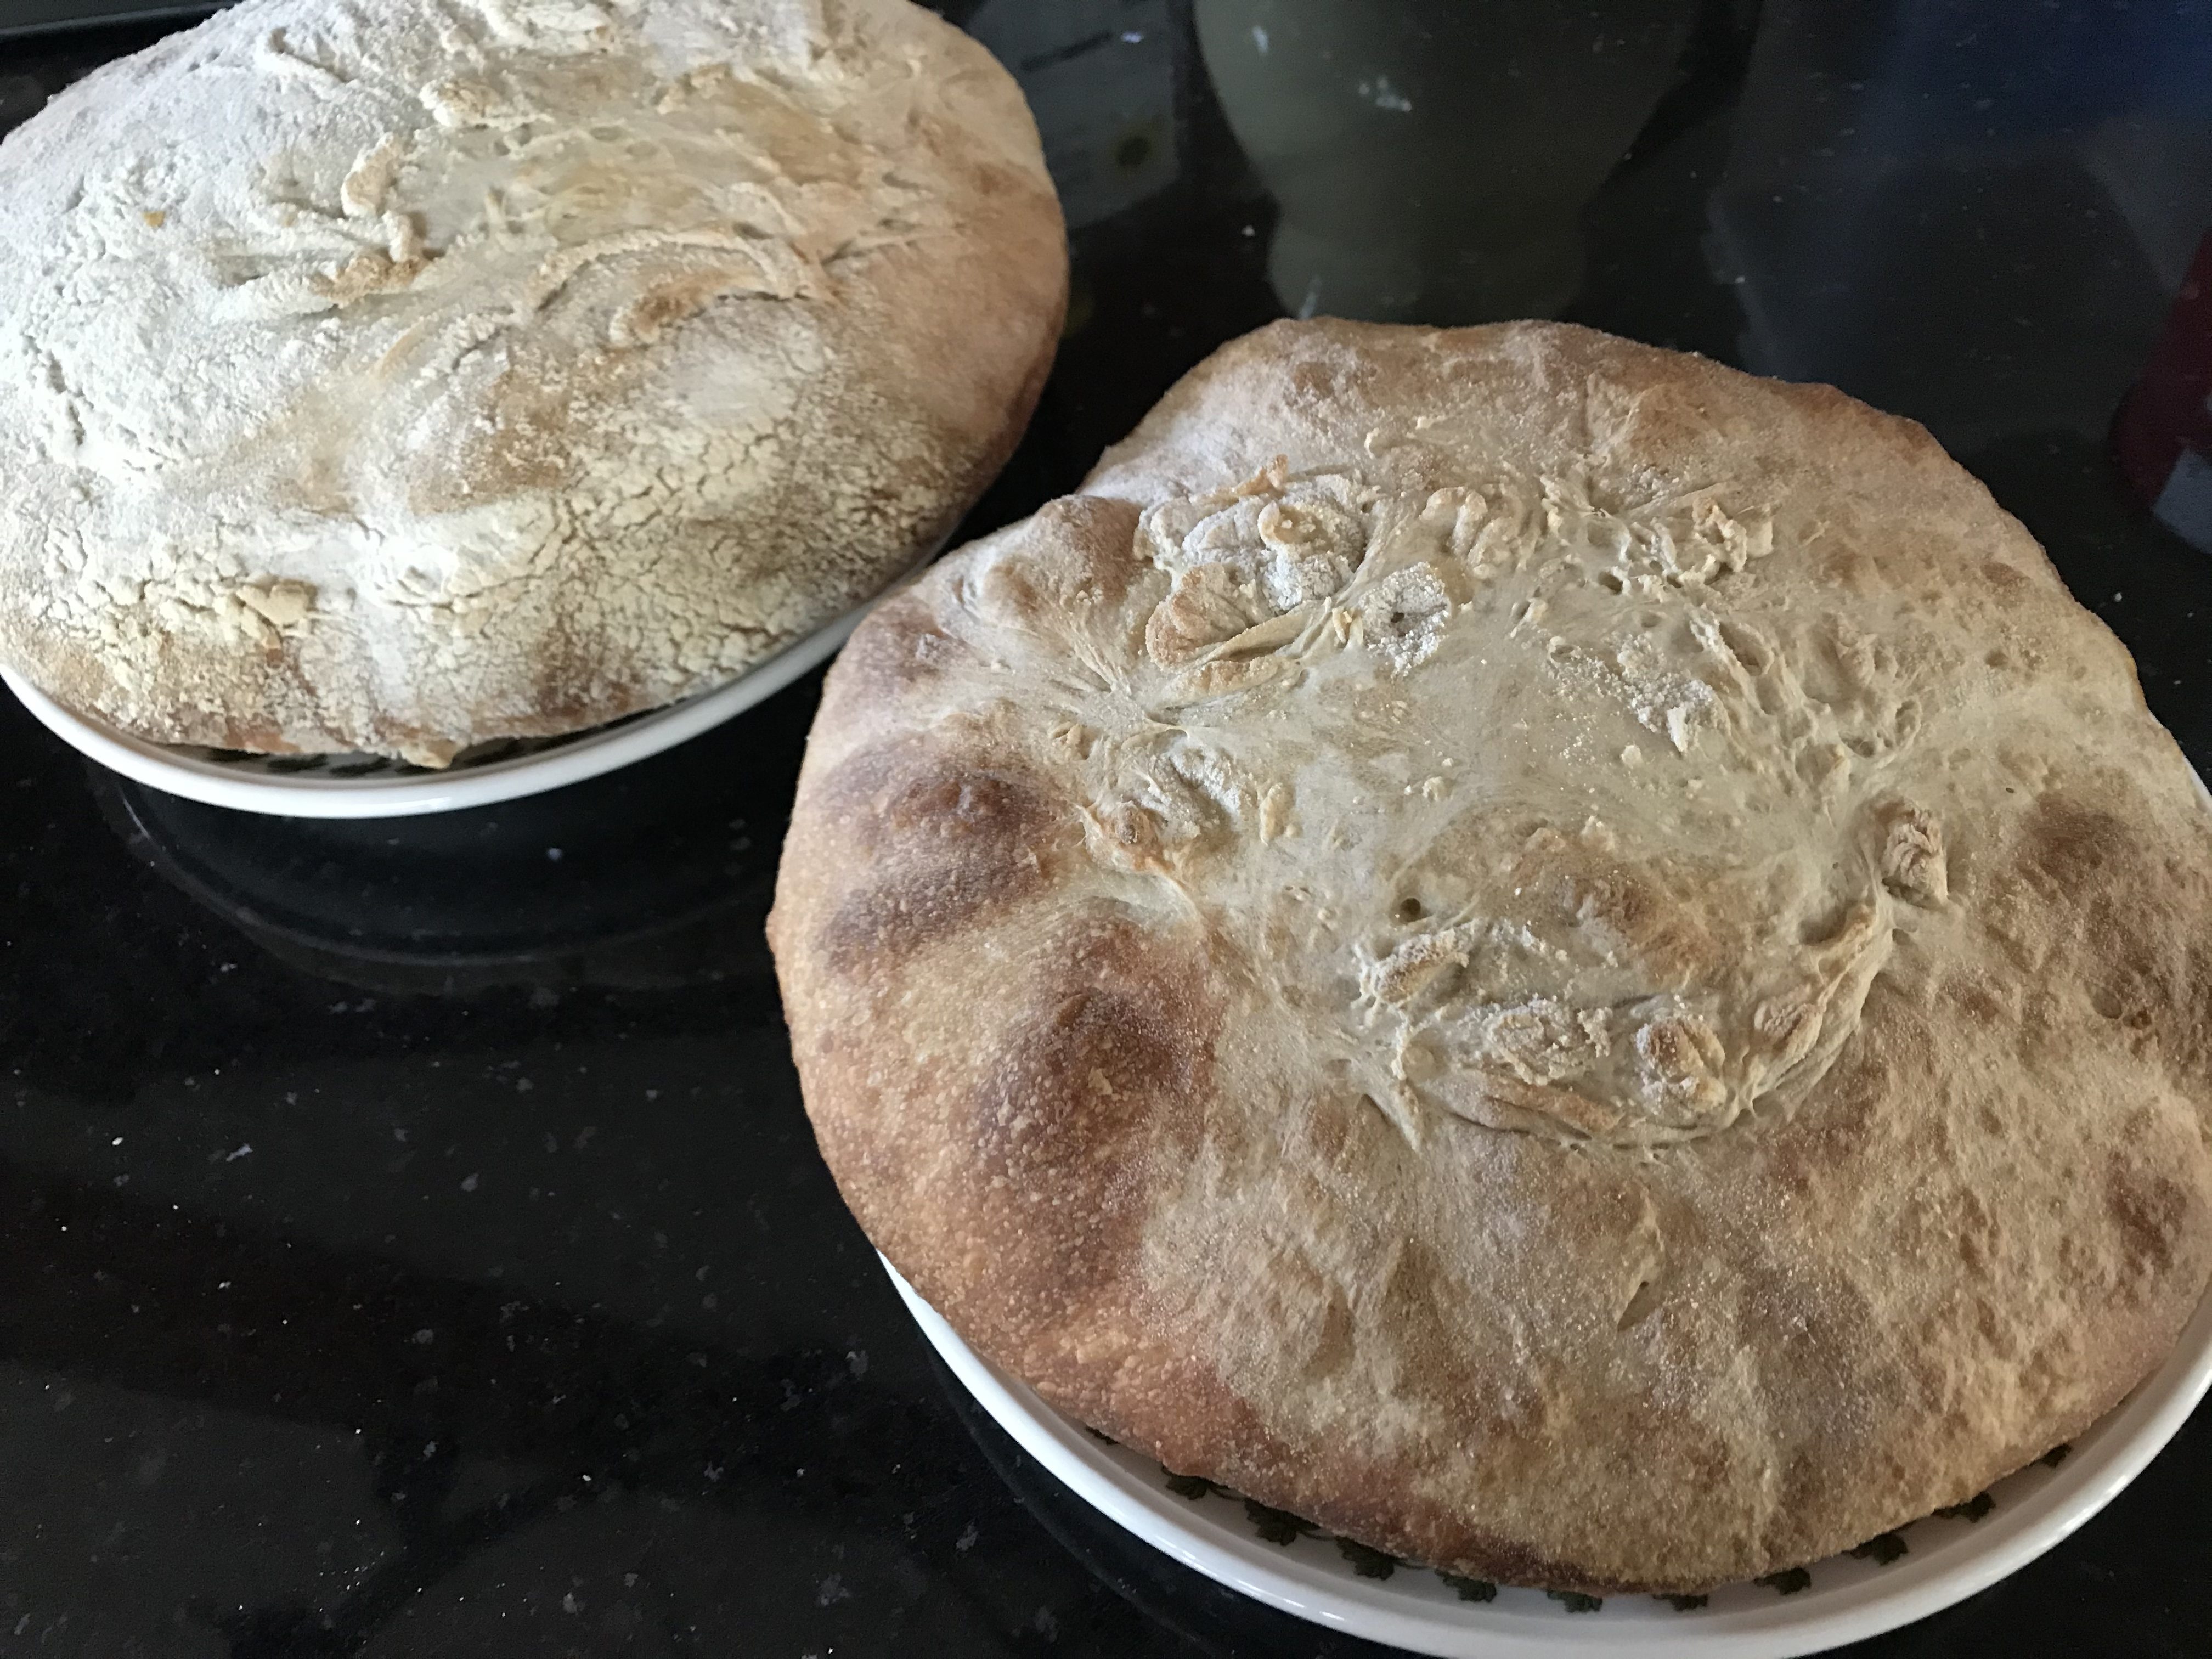
However, it was all great fun, and interesting, and I loved the slightly beery smell of the starter and the bread. I made two loaves, and they looked suitably rustic. Inside, they had the big bubbles we think of when we buy sour dough. It tasted—well, exactly like sour dough bread! So I didn’t much like it, but Husband was very pleased. I will make it again, because it was fun. I have included the recipe below, in case you fancy making some too.
Sour Dough Starter
- Day One: Heat 6fl oz skimmed milk (but not too hot to touch, or it will kill the bacteria, and bacteria is your friend here). Mix with 5 tblsp plain yogurt (you need the stuff with bacteria in, and not a flavoured one, as that would make very odd bread!) Cover the bowl. Leave 24 hours (somewhere not too cold). Stir.
- Day Two: Stir in 4oz (100g) white bread flour. It needs to be proper bread flour, not plain flour, as it needs the extra strength—otherwise your loaves will flop over in despair and you will have made weird sour pastry, not bread. Cover. Leave 48 hours.
- Day Four: Add 6oz (150g) bread flour, and 100 ml water, and 3 tblspn milk (I used semi-skimmed milk). Leave 24 hours.
- Day Five: Remove half the starter. You can throw it away, but I put it into another bowl, in the fridge. When I wanted to make more, I simply put it into the warm kitchen and started at Day Four again, hence making another lot of starter for more bread. Apparently, some people keep their starter for generations, passing it on and on, a sort of sludgy heirloom. Not sure my children would especially enjoy inheriting that.
Add 5 ½ oz (150g) bread flour, 150 ml water. Mix well. Leave 24 hours.
- Day Six: Use the starter to make the bread.
Sour Dough Bread
500g Strong White Flour
300g Starter (this is what the above recipe will give you)
2 tsp brown sugar
2 tsp salt
oil for greasing
9fl oz (150 ml) warm water
loads and loads of extra flour to stop the dough sticking to your hands/board/tea towel
- Mix the starter and flour, gradually add the water until forms a soft dough, you will probably only need about 6 fl oz. (I added it all, because I didn’t read the recipe properly, and made a sticky mess. Had to add a lot of extra flour to make it workable.)
Add sugar and salt.
Knead for 10 minutes, stretching and pushing and squeezing the dough. It’s ready when you can stretch out a piece so thinly that it’s almost translucent. This means all the gluten in the bread has burst, and will hold the bubbles in the dough when it cooks. If the dough isn’t stretchy enough, keep kneading until it is, otherwise you will be making biscuits (ones that will break your teeth).
- Put into an oiled bowl. Leave somewhere warm for 2 ½ hours.
- Knock back (ie, knead a little bit more, so some of the air is released, but not enough to push out all of it). Shape into two loaves. Cover a tea towel with loads of flour (really, loads, push flour into the fabric with your fingers—it will still stick!) Place the tea towel into a bowl, and add your loaf. (If you leave it to prove on a tin, like normal bread, it will collapse into a dollop). Leave 2 ½ hours.
- Place loaf onto an oiled tin. (Good luck with that! I surgically removed the tea towel with a knife. But the scraggy top of the loaf looked quite nice when it was cooked.) Score a hashtag shape on top with a sharp knife (try not to press on the dough—you want to keep all the air bubbles inside now).
- Bake 200˚C for 35 minutes. If you remember, put a tin of water in the bottom of the oven, to create a steamy environment. The loaf will sound hollow when it’s cooked (so get it out and knock on the bottom if you’re not sure!)
Thanks for reading.
Why not sign up to follow my blog?
anneethompson.com
*****